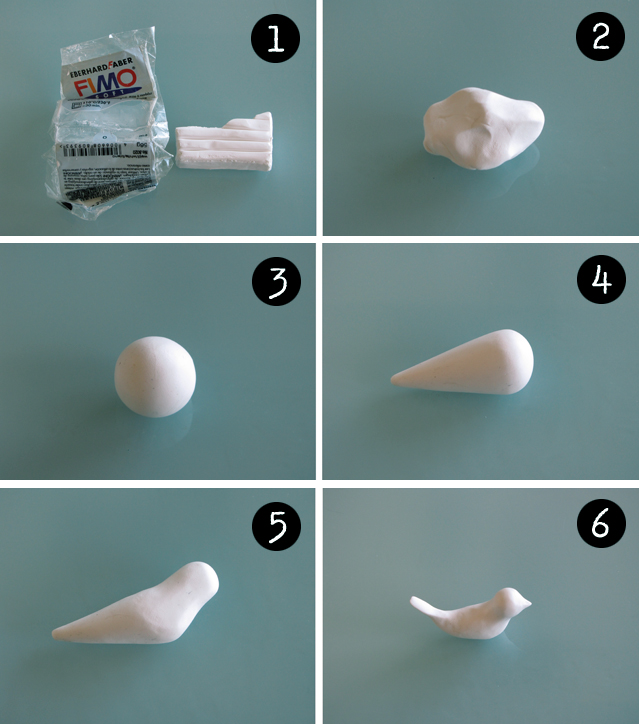
1- You can use oven baking polymer clay or DAS air drying clay to make the birdie. I used a little bit of FIMO clay I had left over from another project.
2-Knead the clay until it's soft and malleable.
3-Shape the clay into a round ball.
4-Turn the ball into a drop shape.
5- With the tips of your fingers pinch the chunky part of the drop
until you form the head of the bird.
6-Pinch the head of the birdie to form a beak
and flatten the pointy tip to make the tail.
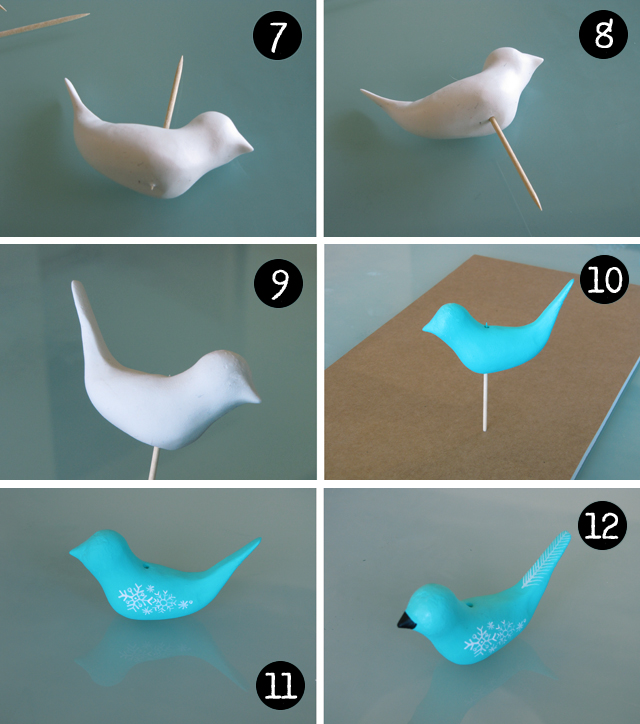
7- Poke a hole through the back of the bird straight down until you see the tip of the toothpick in the bottom. This is where you'll thread the bird to hang as an ornament.
8- Poke the hole from the bottom with the toothpick to make a clean orifice.
9-Bake according to directions in the package or air dry if you used DAS.
10- The birdie is now ready to be painted! Use the toothpick to hold the bird while you paint it with acrylics.
11-Decorate the wings of the bird with snowflakes if you want a winter theme.
I used a piece of foam board to hold the bird in place and make it easier to paint.
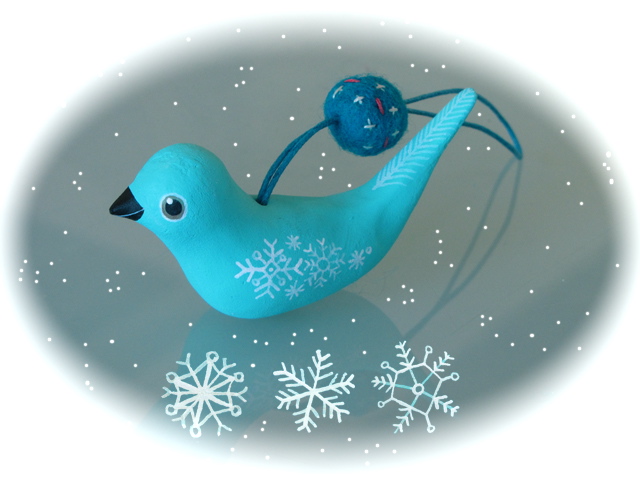
12-Finish off all the details like the beak and the eyes and thread it with the string of your choice. I added a little wood felted bead I had laying around, but you can also use buttons or any kind of beads.
Now go and hang that cute birdie on your tree! :)
Visit Lifestyle Arts for daily updated images of art collection


